

You can quickly and easily add basic pop-ups (modal windows) to your WordPress site with the Boxzilla plugin. The popup/slide can be placed anywhere you need it, and even be triggered with JavaScript if you want to make it appear in response to a click on a button.
The plugin works well if you are collecting email addresses or directing people to a new landing page. Simple and easy to use. Does what it says it will do. There are a lot of options available.
For almost all of my clients who need a pop-up (modal window) plugin, as long as we are not doing A/B testing or very advanced design work, I recommend this plugin.
But I would like a few more layout controls, and A/B testing is not supported, but overall, it is a great tool for the price (free).
The first step is to download and install the plugin from the WordPress plugin directory.
Link: Boxzilla
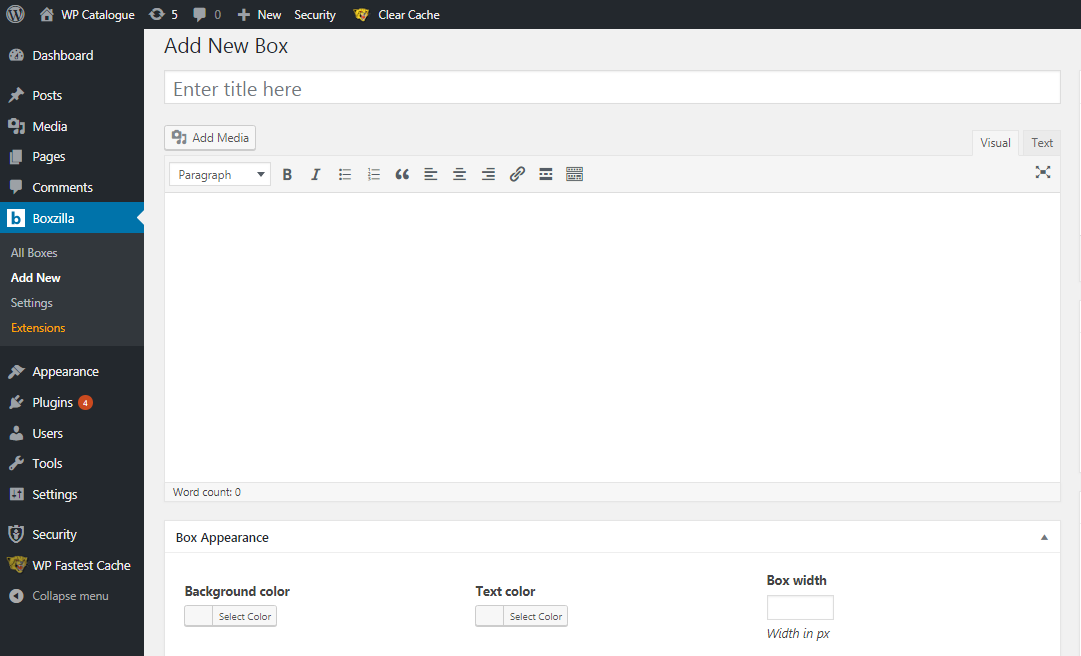
To add new box, go to Boxzilla > Add New. The add new box page allows you to insert content using the default WordPress WYSIWYG editor. See screenshot below:
Some key features of the plugin include:
- Mobile optimized
- Scroll percentage
- Advanced page targeting
- Specific page element targeting
- Full control over how long boxes should stay hidden
- Allows popup by clicking a link or button manually
- Different animation styles for boxes
- X amount of time on the page
- Various box triggers
- Time on Site extension
- Exit Intent extension
- Customizable box position
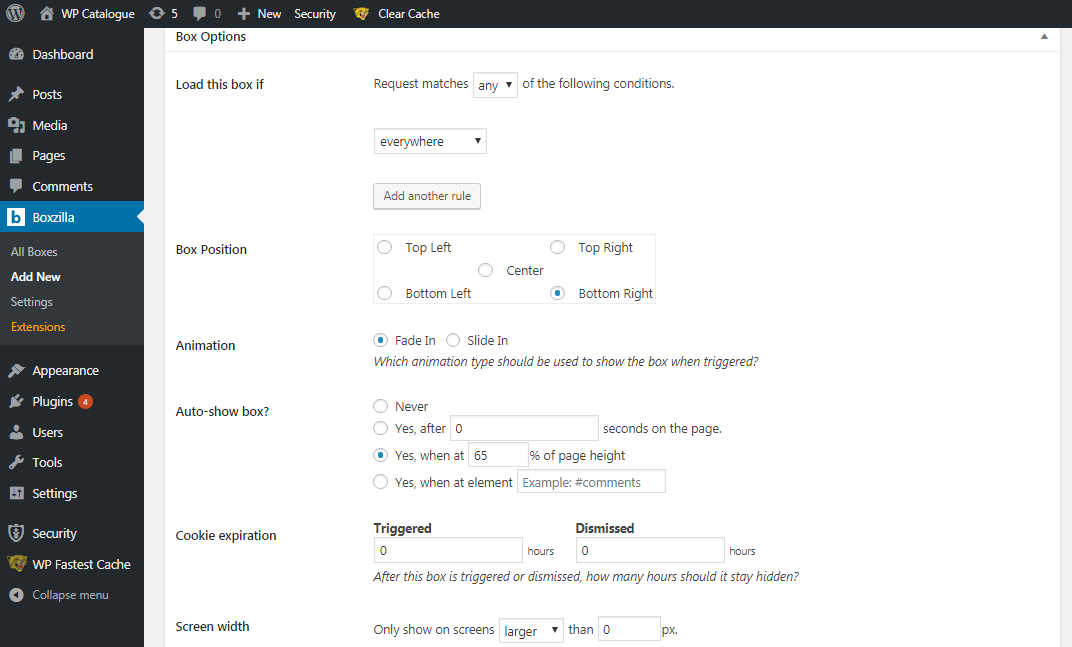
Below is a screenshot of the box options panel:
Boxzilla Shortcodes
You can also customize the style of the boxes using Boxzilla shortcodes. For example, if the close icon is hidden, you could use the following shortcode as an alternative way to close the box:
[boxzilla-close]No, thanks![/boxzilla-close]
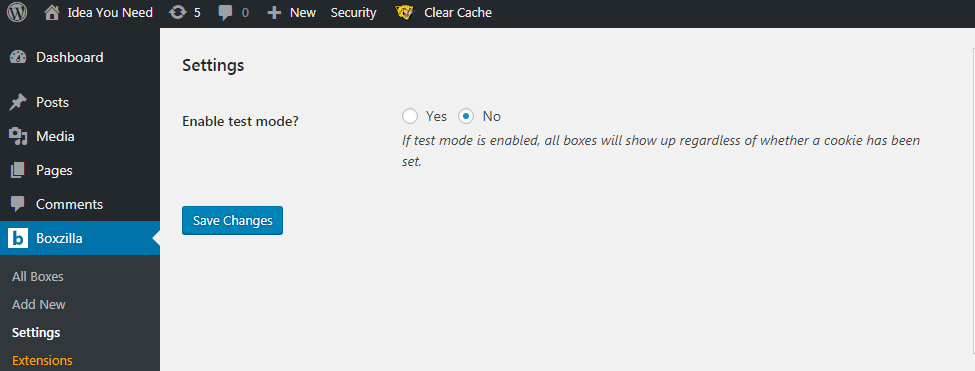
Boxzilla Settings
There is a test mode setting on the settings page for the plugin that allows you to use it whether or not a cookie has been set.
Boxzilla Premium Extensions
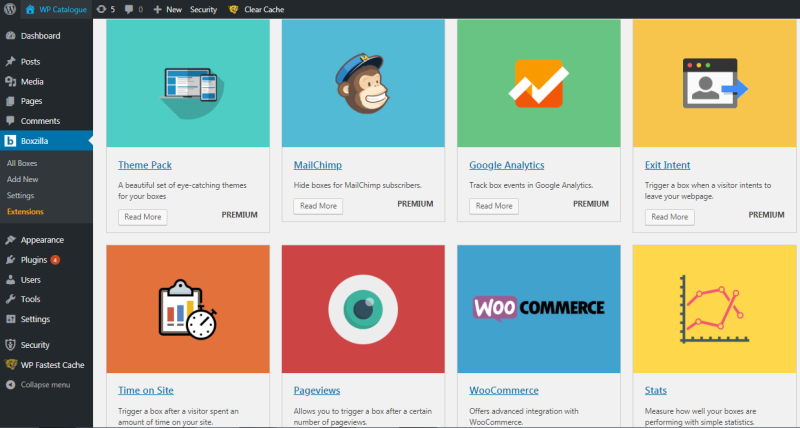
The plugin supports quite a few extensions. The extensions need to be purchased. To add extensions, go to Boxzilla > Extensions page.
Currently available premium extensions are:
- Theme Pack
- MailChimp
- Google Analytics
- Exit Intent
- Time on Site
- Pageviews
- WooCommerce
- Stats
Using Boxzilla with Mailchimp
Here’s a video that explains how you can show a MailChimp signup box when a link or button is clicked:
The plugin also has other interesting uses. Say you’re looking for a scroll-triggered Facebook page plugin (not so annoying as a pop-up) that appears in your right bottom corner. You just need to insert the iframe script from Facebook and it will appear every time after a certain period of time.
Thanks to Ibericode for providing such a useful plugin for free. I like the work of the people at Ibericode. Even though this plugin is very basic, it’s all most people need to get started.
If you know HTML and CSS, or know someone who does, you can actually customize the pop-ups beyond what the basic controls allow.